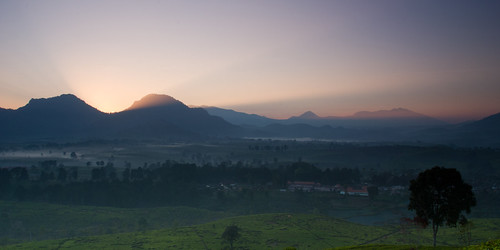
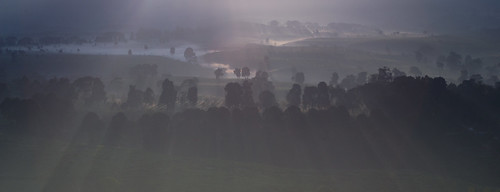
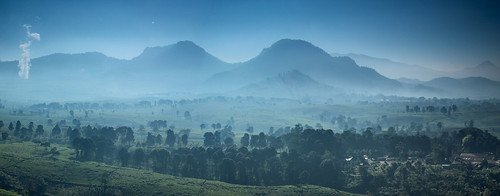
One of unique technique and setting that I explore since I have SLR camera is slow shutter photography. A technique that usually used for landscape photography. Here are some points that I learned so far from internet, experiences and suggestion from my friends.
Use tripod
For slow shutter photography, tripod is a must. I use Manfrotto. This gear is crucial, it hold your camera and lens, so better use the good one or it can put your cams into danger.
Use CP filter
I use B+W filter. Set this filter first to get the picture reflection you want before set the grad filter.
Use Gradual Filter
I use Singh-Ray reverse filter. Try to put filter median into the horizon of your picture, or you can shift it depend on your wish.
Filter holder
This additional gear used to support gradual filter. If you dont have this, then prepare to hold the grad filter by your hand during the shot and prepare for some un-detailed pictures as a compensation.
Small aperture
Smaller aperture can give you more detail in all area --> bigger DoF and it cover all parts in your pictures
Sample small aperture: f/20
Small ISO
Usually I use ISO 100 or 200 to get detail picture. Smaller ISO mean more detail/sharp pictures
Always use live view.
When you see the picture using optical view, there will be no changes that makes by your camera, only the object itself. This the place you can manage the bright by changing the time and white balance.
Sample: If you change the white balance from 'auto mode' to 'cloudy mode', there will be no difference on your camera optical view.
Use remote
To avoid a shake in your camera when you push the button or you can use 2 sec shot. Every type of camera has specific remote.
Disable Image Stabilizer (IS) from your lens (if any)
It will stop lens trying to stabilize the image when you already have tripod on.
Good composition
This more art than a technique and I leave this point to you each to explore.
Good photographer has a great instinct and experience
Go Practice
You will got lot of experience and fun. So what you waiting for?
Welcome for any suggestion and correction :)


